
TopStepTrader
Connecting to TopstepTrader Account
This guide provides instructions for connecting a TopStepTrader account to the ATAS platform.
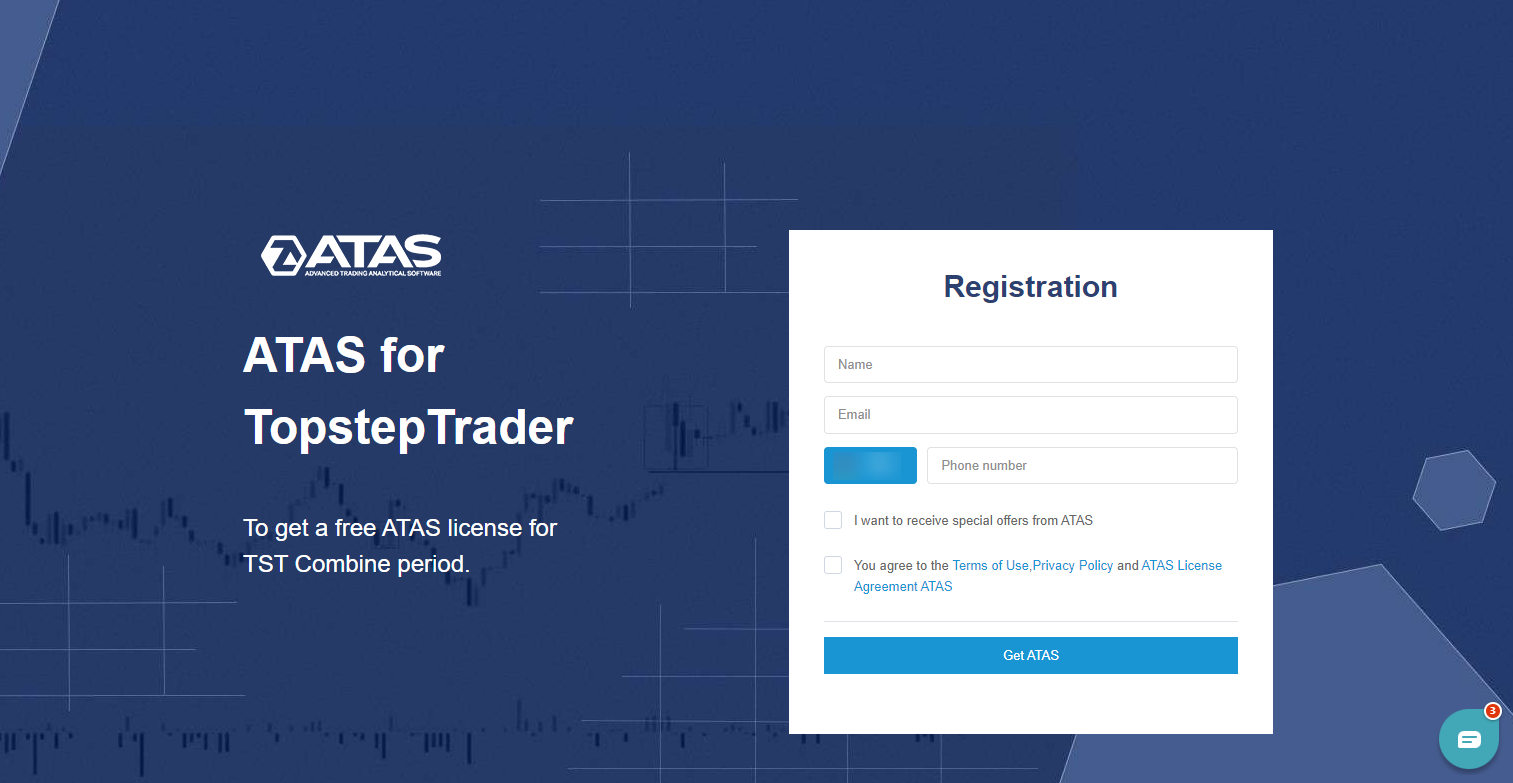
Before launching the platform and connecting the account, you need to register here:
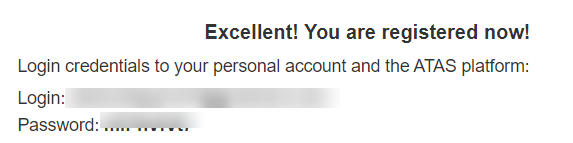
In the ATAS login menu, enter the username and password you received in the email after registration.
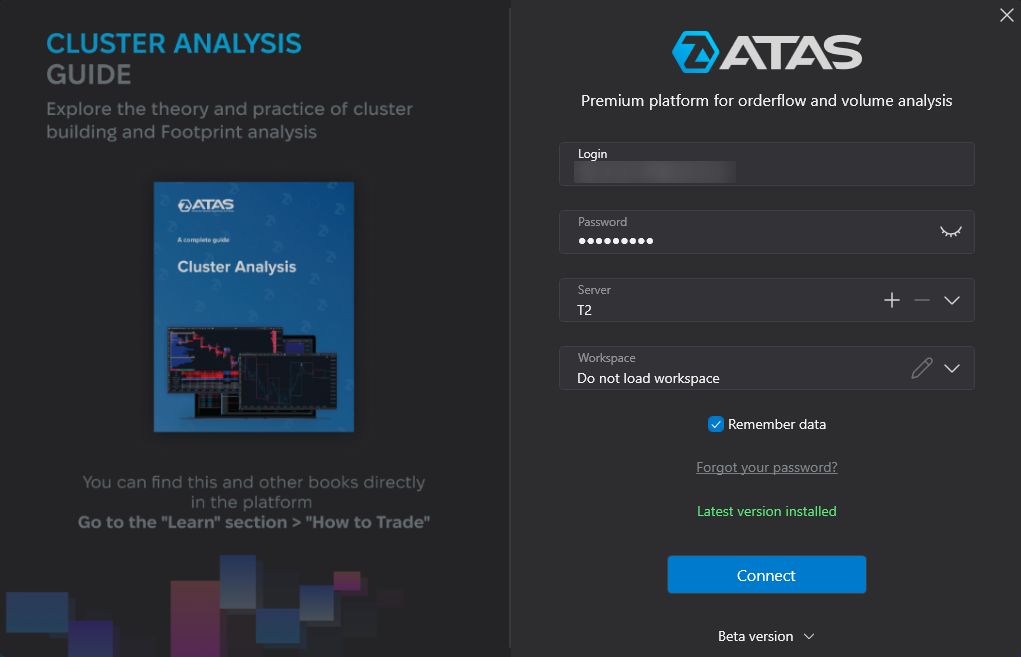
Standard atas.net account credentials are not applicable.
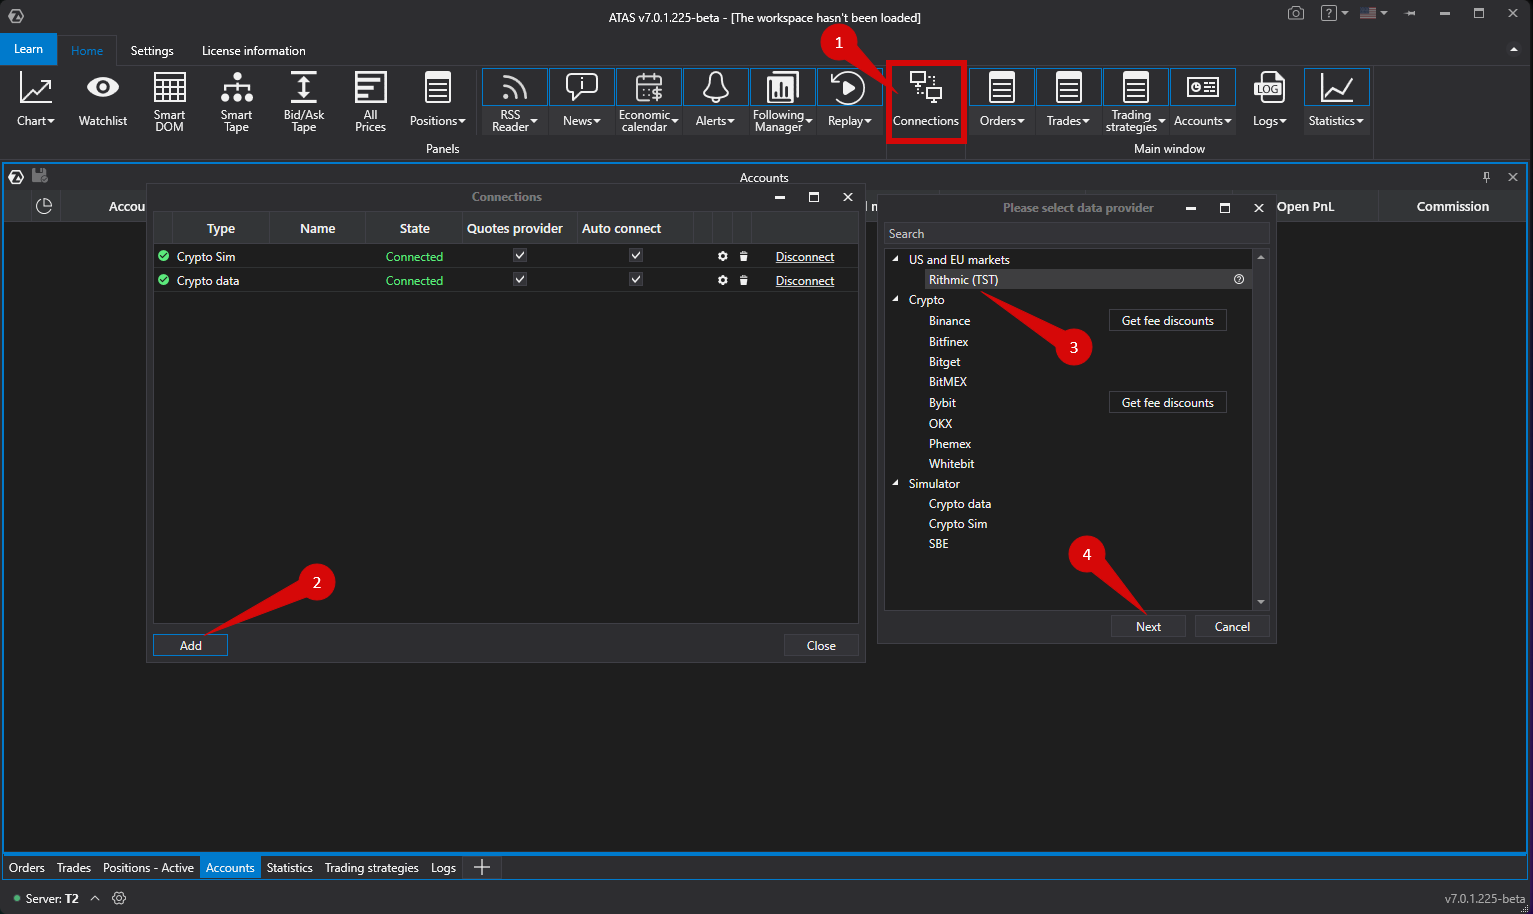
To connect the account, click the Connections button in the main platform window, then click Add, and in the next window, select the Rithmic (TST) connection.
Enter the login and password for the TST Combine account.
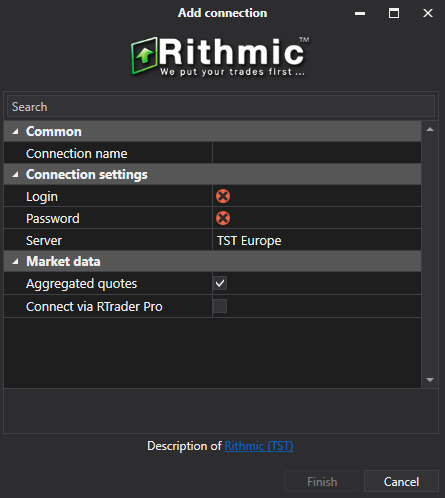
When connecting, it is important to select the server for TopStepTrader.
Click Finish.
After configuring the connection, it will appear as a separate line in the list of connections:
You can read about the settings of this window by following the link: Connection Settings Window.
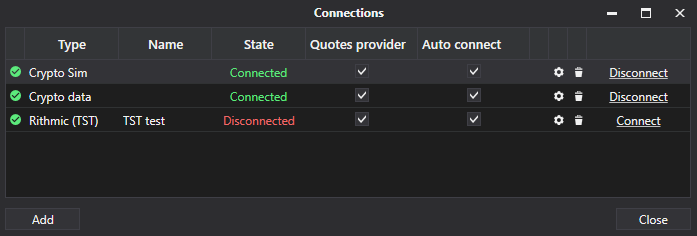
1. Add – add a new connection.
2. Type – connection source.
3. Name – connection name which you can set yourself.
4. Status – connection status.
5. Quote Provider – option to select a quote provider (this connection will be used as a quote provider).
6. Auto-Connect – if you want the connection to automatically occur when the platform is launched, you need to enable this option.
7. Connection settings button.
8. Remove connection from the list button.
9. Connect/Disconnect – connect/disconnect the connector.